1. Yocto Project in STM32MP135
2. Environment setup
3. Add a new custom machine to Yocto
4. Add STMicroelectronics Layers to Yocto
1. Yocto Project in STM32MP135
In modern embedded Linux systems, the ability to tailor the operating system to specific hardware platforms is essential for optimizing performance, resource usage, and system reliability. The Yocto Project provides a powerful and flexible framework for building custom embedded Linux distributions that are reproducible, scalable, and maintainable.
This article describes the process of building a minimal embedded Linux system for the STM32MP135 processor on a custom System-on-Module (SOM). The workflow covers environment setup, Yocto Project configuration, custom machine integration, and image generation, enabling a reliable Linux platform tailored to the target hardware.
2. Environment setup
The system was developed on Ubuntu 22.04 LTS, the version recommended by Yocto and STMicroelectronics.
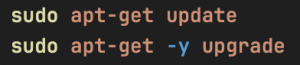
Before starting, you need to update your system to avoid library conflicts:
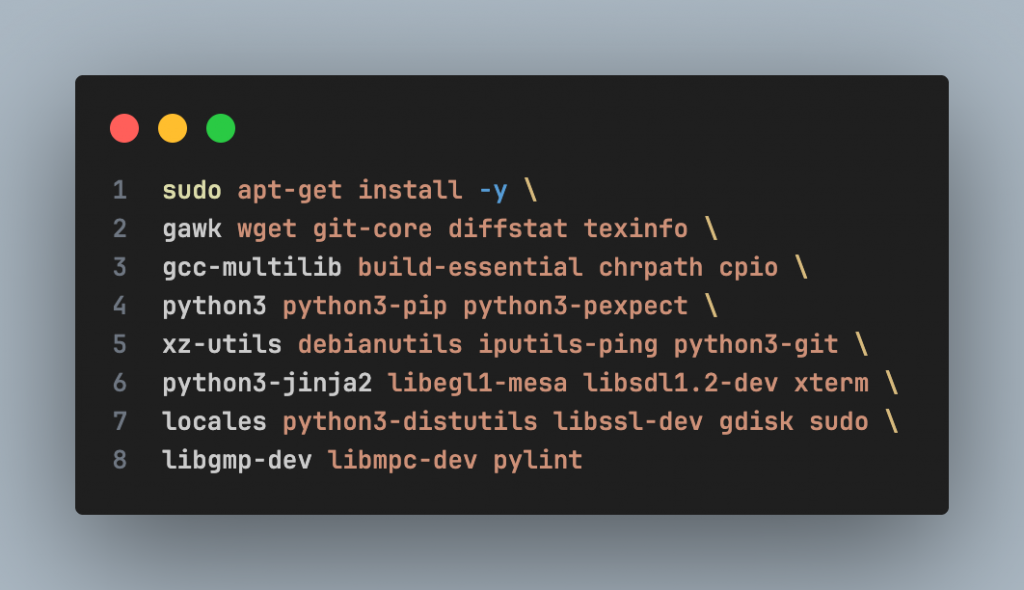
Yocto requires several tools for cross-toolchain, kernel, and rootfs builds. Important packages include:
- Compiler & build tools
- Python 3 and related modules
- Filesystem and image handling utilities
Installing all these packages ensures a stable build process, especially for initial builds. Packages required by OpenEmbedded/Yocto:
STMicroelectronics recommends using the en_US.UTF-8 locale to avoid errors during the build process:
![]()
3. Add a new custom machine to Yocto
1. Download Yocto
Go to the address: $HOME/yocto-labs/
Download the scarthgap version of Poky:

2. Download STMicroelectronics Layers
Go to the yocto-labs directory, download meta-openembedded and meta-st-stm32mp layers:

3. Add new custom machine
Download the patch file to $HOME/yocto-labs/ and apply it

The patch adds a new custom machine (stm32mp1-ies) to the Yocto project. The patch performs the following tasks:
- Adds a new custom machine configuration to the meta-st-stm32mp layer
- Introduces a custom device tree for the new machine in the appropriate recipes, including:
– Trusted Firmware-A – U-Boot
– Linux kernel
– OP-TEE
4. Activate the build environment
Export all needed variables and set up the build directory:

4. Add STMicroelectronics Layers to Yocto
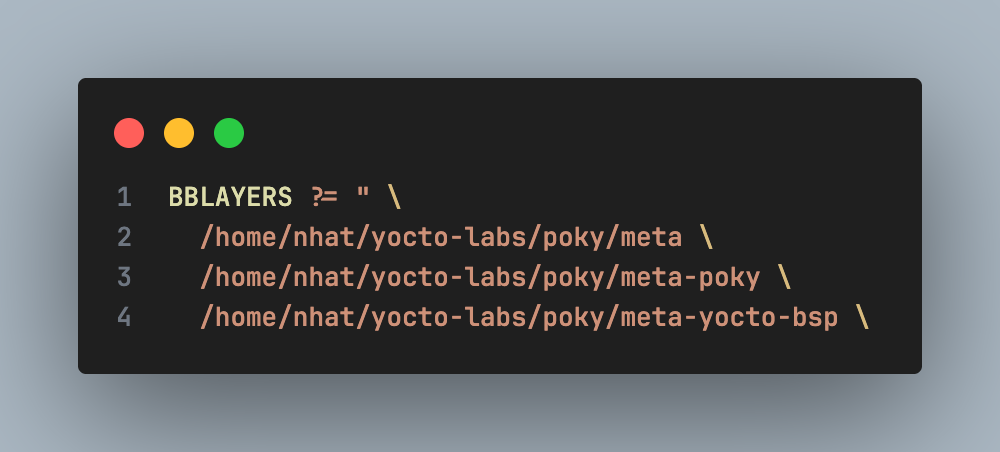
Added new layers to Yocto: In the build/conf/ directory, edit the bblayers.conf file. Initially, the file contains the following layers:
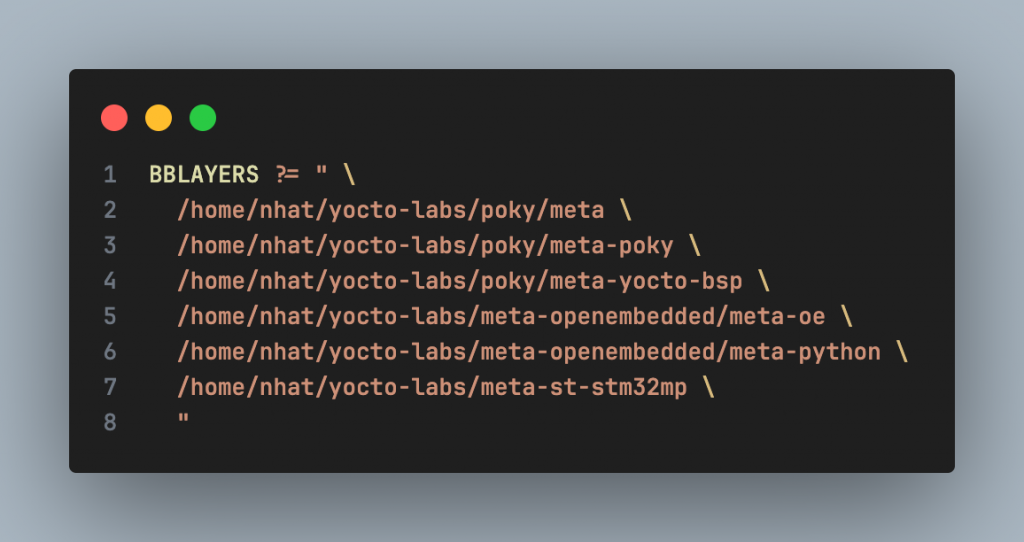
Add the following three layers to enable OpenEmbedded and STM32MP support:

After the update, the bblayers.conf file should look like this:
1. Choose a target machine
You must specify which machine is your target (currently we use stm32mp1-ies). Go to $HOME/yocto-labs/build/conf/local.conf and set
![]()
2. Build the image
Now that you’re ready to start the compilation, go to the $HOME/yocto-labs/build/ and run:
![]()
Note: The first build process may take several hours, depending on the number of CPUs, available RAM, and Internet connection speed
3. Create the final image for SD Card
Once the build finished, you will find the output images under $HOME/yocto-labs/build/tmp/deploy/images/ stm32mp1-ies/
Execute the following command to create the final image for the SD card:
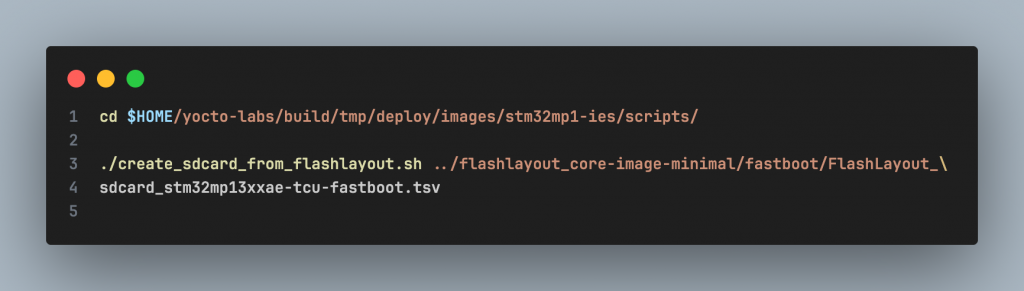
It will create the file FlashLayout_sdcard_stm32mp13xxae-tcu-fastboot.raw.
4. Flashing the image into the SD Card
Insert the SD card into the PC via an SD card reader

Using Balena Etcher:

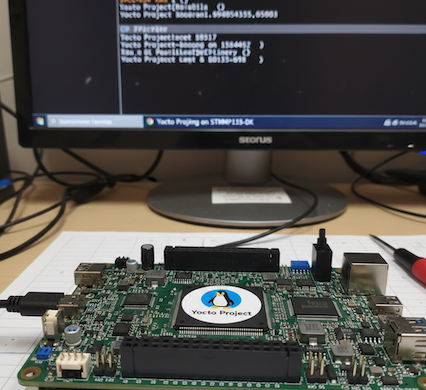
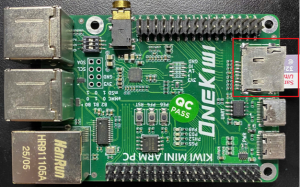
Insert the SD card into the board, then power on the board.
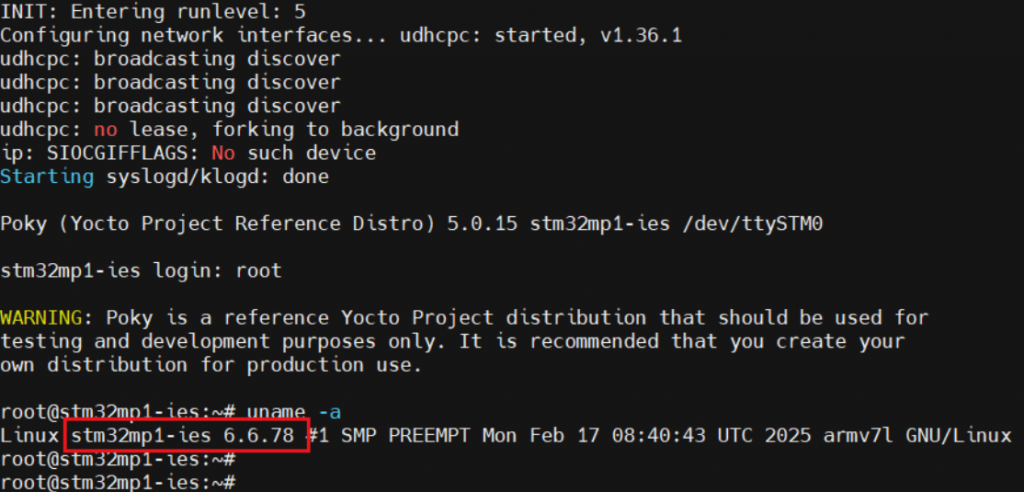
You should see the Linux boot log on the serial terminal.
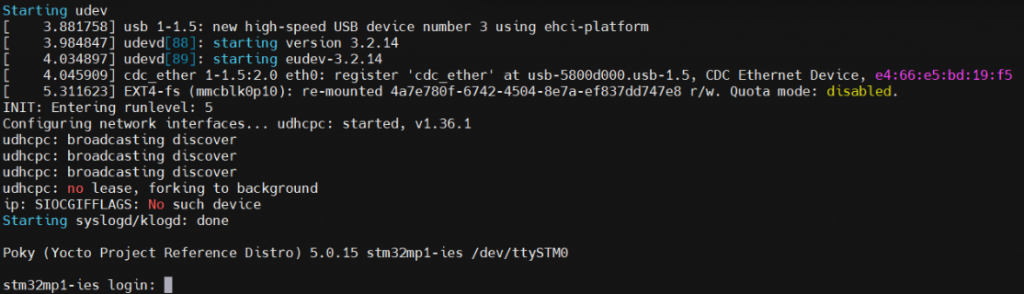
Wait until the login prompt, then enter root as user. Congratulations! The board has successfully booted.
You can verify the Linux kernel version by running
Since we are using the Scarthgap Yocto release, Linux kernel 6.6 is the expected version.