1. Introduction
2. Device Tree Configuration
3. SPI Bring Up
4. Kernel Code Implementation
5. Hardware Connections
6. Capturing Waveforms
7. Debugging with dmesg
8. Interface Link Up
9. Testing with candump and cansend
10. Conclusion
1. Introduction
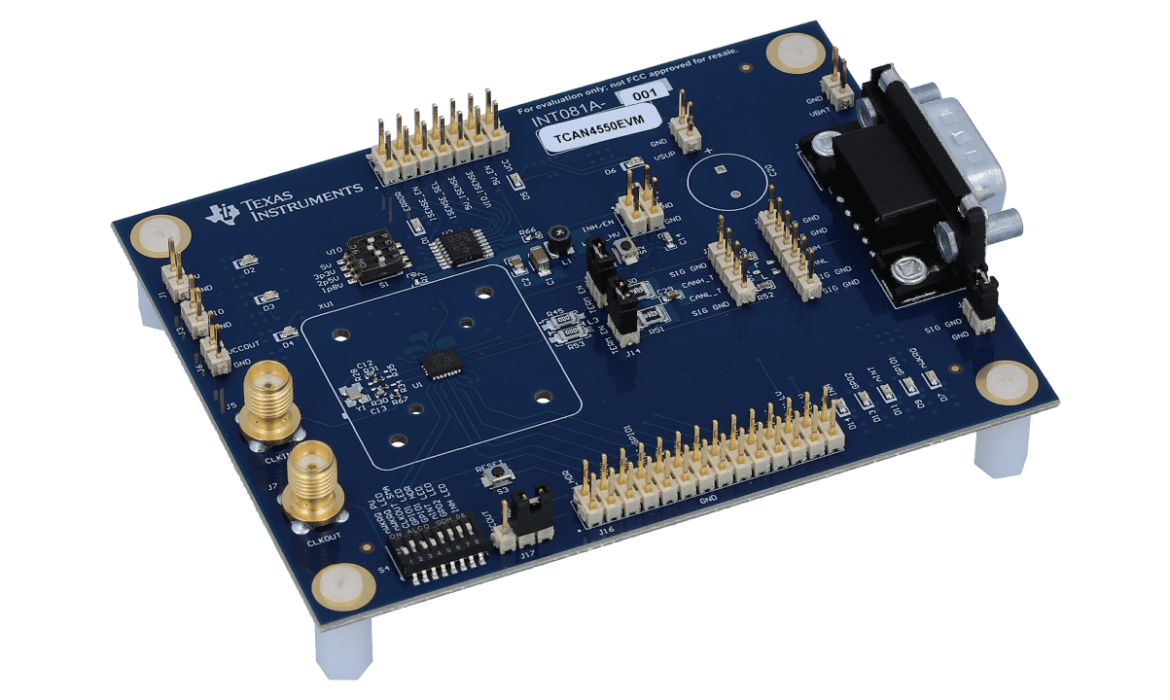
In this post, we will explore the process of porting the TCAN4x5x driver to the Linux Kernel 4.14. We’ll cover everything from configuring the device tree and setting up SPI to implementing the kernel code, making hardware connections, and testing with tools like candump and cansend. This comprehensive guide aims to provide a detailed walkthrough to help you get the TCAN4x5x driver up and running on your Linux system.
2. Device Tree Configuration
The first step in porting the TCAN4x5x driver is to correctly configure the device tree. The device tree must include the TCAN4x5x node with proper child nodes defining properties like compatible, reg, spi-max-frequency, and interrupt-parent
Here is an example of how you might define the TCAN4x5x node in your device tree:
This configuration sets up the TCAN4x5x device on the first SPI interface, specifying the maximum SPI frequency and the interrupt settings.
3. SPI Bring up
The Linux kernel includes a comprehensive SPI subsystem that facilitates communication between the SPI host controller and peripheral devices like the TCAN4x5x. Here’s a general overview of the steps involved in bringing up SPI:
Verify SPI Host Controller: Ensure that the SPI host controller driver is enabled and functioning correctly in your kernel configuration. This typically involves enabling the appropriate kernel options and verifying that the SPI controller is recognized during the boot process.
Register the SPI Device: Within the kernel, the TCAN4x5x device must be registered with the SPI subsystem. This involves defining the SPI device in the device tree and ensuring the kernel can recognize and initialize the device based on these specifications.
Define SPI Transfer Structures: In the driver’s initialization function, you’ll need to set up SPI transfer structures. These structures define how data is transferred between the SPI master (host controller) and the SPI slave (TCAN4x5x). This includes setting up parameters such as the transfer speed, data length, and the specific SPI mode (e.g., mode 0, mode 1).
Handle SPI Data Transfers: The core of SPI communication is handling data transfers. This involves writing functions to send and receive data via SPI. These functions will use the kernel’s SPI API to queue and execute SPI transactions. It’s essential to handle the asynchronous nature of SPI transfers and manage data integrity.
4. Kernel Code Implementation
The kernel driver for the TCAN4x5x needs to handle several aspects:
Driver Initialization: The driver must initialize the TCAN4x5x device when the system boots up or the module is loaded. This involves registering the SPI device, setting up the necessary kernel structures, and configuring the device settings.
SPI Data Transfers: The driver needs to handle SPI data transfers between the host controller and the TCAN4x5x device. This includes both sending commands and receiving data.
Interrupt Handling: The TCAN4x5x device generates interrupts for various events, such as data reception. The driver must handle these interrupts efficiently.
Sysfs Entries and Device Files: To facilitate communication between user-space applications and the driver, expose relevant information and control interfaces via sysfs entries or device files.
You can implement these functionalities in the driver’s probe, remove, and interrupt handler functions. Make sure to handle errors and clean up properly in the remove function.
5. Hardware Connections
Connecting the TCAN4x5x chip to your target board correctly according to the chip’s datasheet. This section outlines the necessary hardware connections and considerations to ensure a stable and reliable setup
SPI Interface Connections: The TCAN4x5x communicates with the target board via the SPI interface. Ensure the following connections are made:
- MOSI (Master Out Slave In)
- MISO (Master In Slave Out)
- SCK (Serial Clock)
- CS (Chip Select)
Interrupt Line: Connect the INT pin on the TCAN4x5x to a designated GPIO pin on the target board. Ensure that this GPIO pin is configured as an input and set up to detect the appropriate edge (rising or falling) as specified in the device tree.
Power Supply: Ensure the TCAN4x5x is supplied with the correct voltage according to its specifications
6. Capturing Waveforms
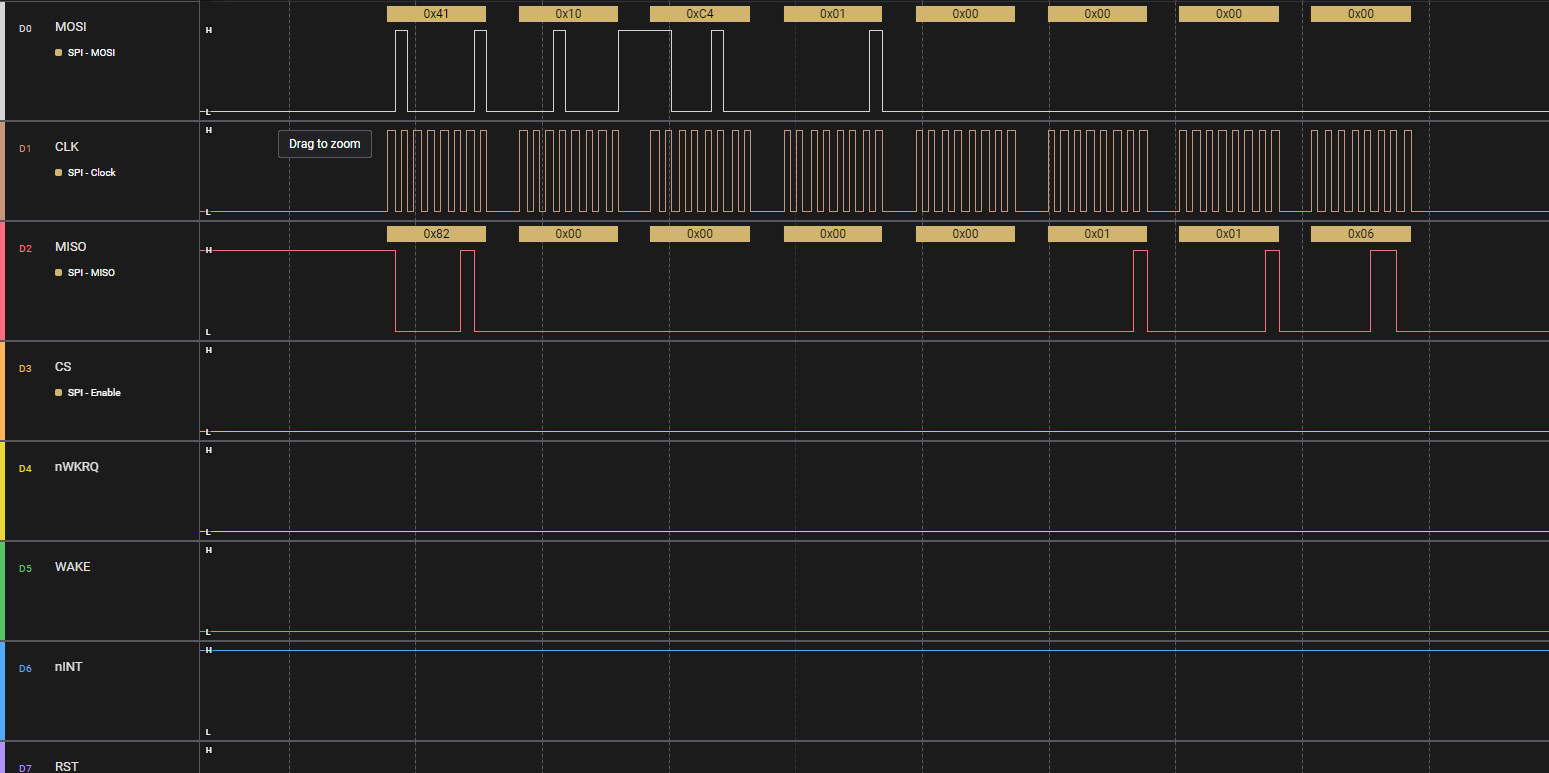
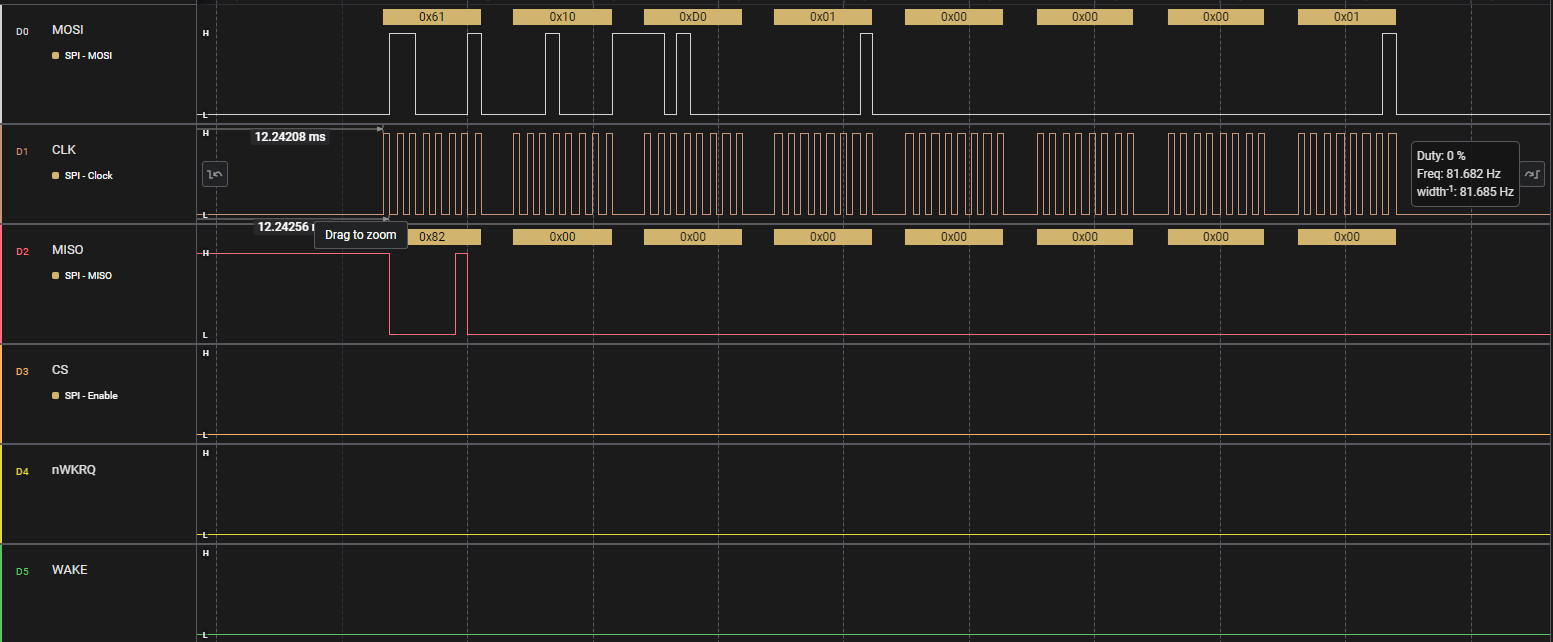
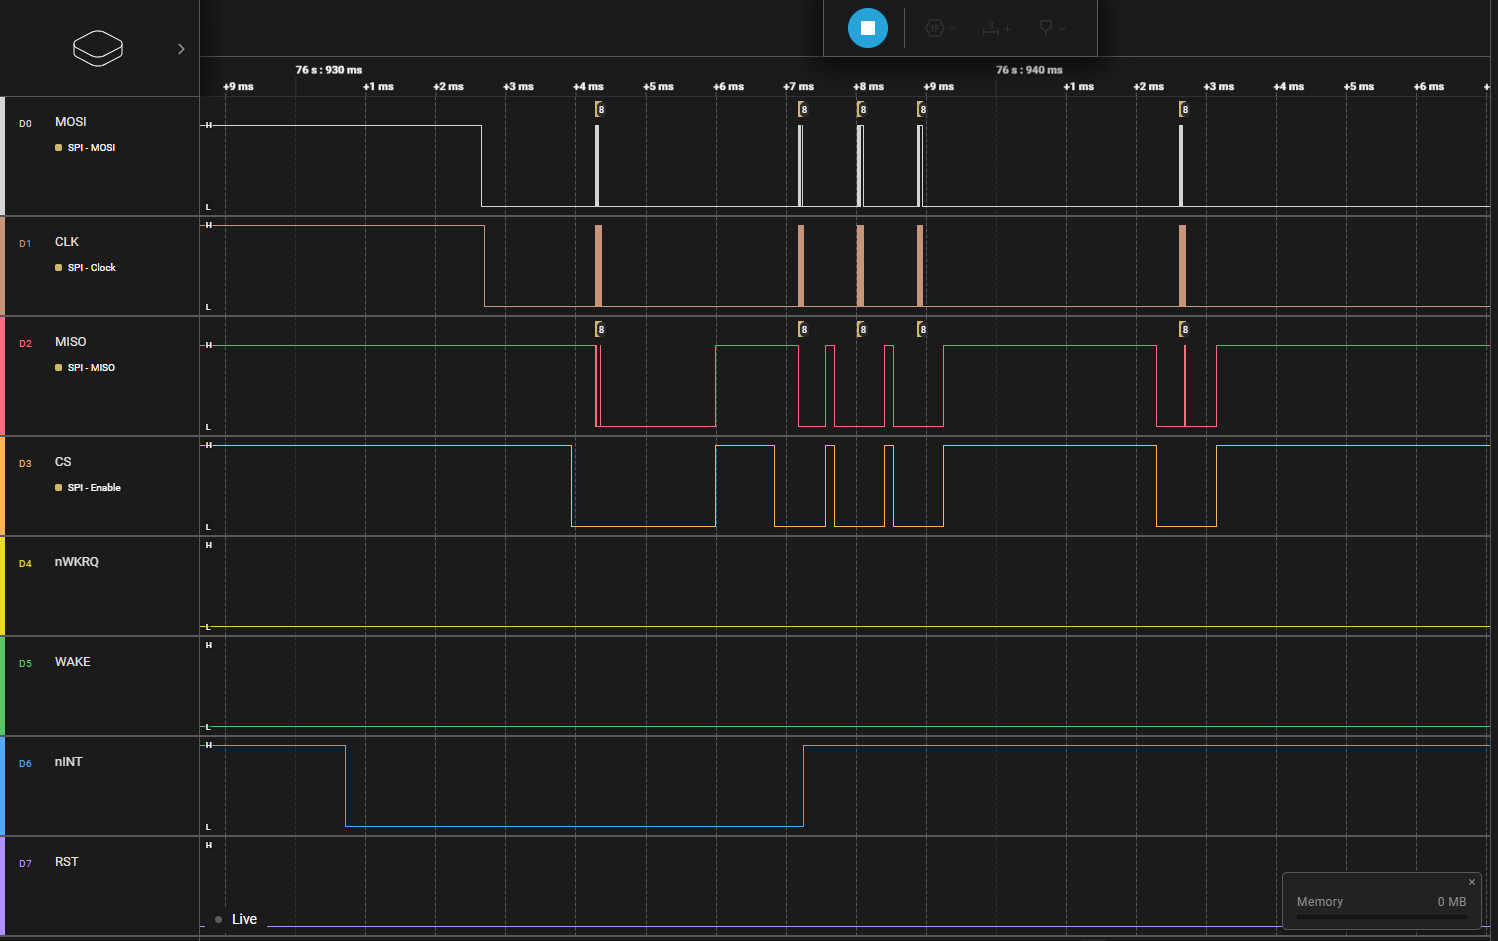
Capturing and analyzing SPI communication waveforms is essential for debugging and ensuring the integrity of data transfer between the TCAN4x5x CAN transceiver and the target board. The following steps outline how to effectively capture these waveform
Setup for Capturing Waveforms
- Equipment: Use a high-quality oscilloscope or logic analyzer capable of handling high-speed SPI signals.
- Probing Points: Connect the probes to the SPI lines: MOSI, MISO, SCK, CS, INT
Capturing SPI Signals
- Configuration: Configure the oscilloscope/logic analyzer with appropriate SPI settings (clock speed, mode). Set the voltage levels and trigger conditions to capture SPI transactions accurately.
- Waveform Capture: Initiate captures during various SPI communication phases, such as initialization, data transfer, and interrupt handling.
The following are some examples of capturing waveforms of the TCAN4x5x using a logic analyzer:
7. Debugging with dmesg
The dmesg command is a powerful tool for debugging kernel and driver issues, including those related to the TCAN4x5x CAN transceiver. It displays the kernel log messages, which include log messages from device drivers, hardware, and kernel events.
Checking Driver Initialization
After loading the TCAN4x5x driver module, the first step is to check if the driver initialized correctly: dmesg | grep tcan4x5x
Monitoring SPI Communication
Kernel messages related to SPI transactions can help identify issues in communication between the MCU and the TCAN4x5x transceiver: dmesg | grep spi
Interrupt Handling
If the driver uses interrupts, it’s crucial to ensure they are being triggered and handled correctly: dmesg | grep irq
Error Messages and Warnings
General error messages and warnings logged by the kernel can provide clues to underlying issues: dmesg | grep -i error and dmesg | grep -i warning. Pay attention to any messages that mention SPI, TCAN4x5x, or other related subsystems.
8. Interface Link Up
Once the driver is loaded, check the interface status using commands like ip link show. The interface should be up and running without any errors.
Configure the CAN Interface
To configure the CAN interface, you will use the ip command. First, set the CAN interface up with the desired bitrate. For example, to set the bitrate to 500000 (500 kbps), you would use the following command:
ip link set can0 up type can bitrate 500000
Verify the Interface Status
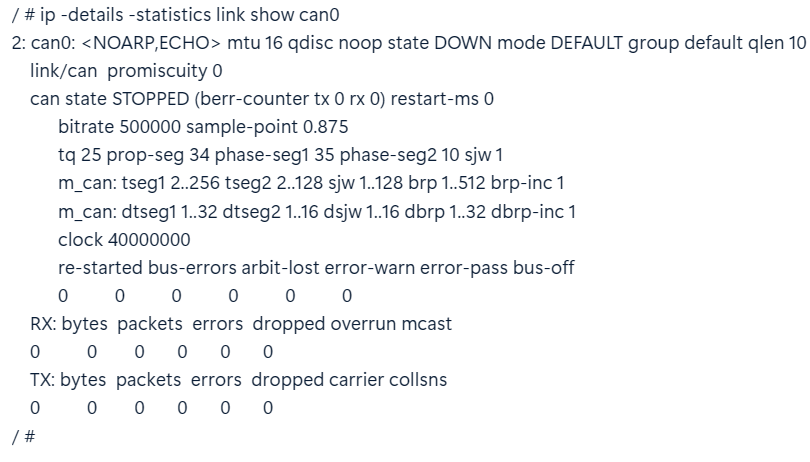
After setting up the CAN interface, you can verify its status using the ip link show command. This command provides detailed information about the interface, including its state, configuration, and statistics.
ip -details -statistics link show can0
Example Output
Bring the Interface Up
If the interface is in the DOWN state, you need to bring it up using the following command:
ip link set can0 up
9. Testing with candump and cansend
Finally, test the driver functionality with candump and cansend tools. These tools allow you to receive and send CAN frames, respectively. Here’s how you can use these tools
To start listening on the can0 interface, run the following command:
candump can0
To send a test CAN frame on the can0 interface, use the following command:
cansend can0 123#abcdabcd
This command will ensure that the TCAN4x5x driver is capable of sending and receiving CAN network messages correctly.

10. Conclusion
Porting the TCAN4x5x driver to Linux Kernel 4.14 involves careful configuration and detailed implementation. By following the steps outlined in this post, you should be able to successfully integrate the TCAN4x5x into your Linux system, enabling robust CAN network communication. This process not only enhances your system’s capabilities but also deepens your understanding of kernel-level driver development. If you encounter any issues, don’t hesitate to contact us at [email protected]


